Installation via USB Installer Drive
To be able to install Threat Defender, you need a USB flash drive with the installation image (see Installation Preparation).
Tip
If you install the software on a headless device using a serial console, there may be issues when using special characters. Try to avoid this by using an EN keyboard layout.
To make sure that Threat Defender will be able to get software and license updates, you will be asked to enter a reachable network gateway and DNS server for the management interface. You can also do this via the user interface when the installation is complete, see Changing the Management Interface.
Depending on your hardware equipment, autonegotiation for the network ports may have to be disabled (best case: device AND switch). Otherwise, Threat Defender may configure the management interface before the network card has a proper IP state for the dedicated management LAN port, for example. Threat Defender may then start without having an IP address.
Setup
To install Threat Defender, proceed as follows:
Insert the USB flash drive with the installation image into your appliance. The system checks for existing installations.
Select the Threat Defender Installer option. If there is no previous installation on the system, this option will be automatically selected after a few seconds.
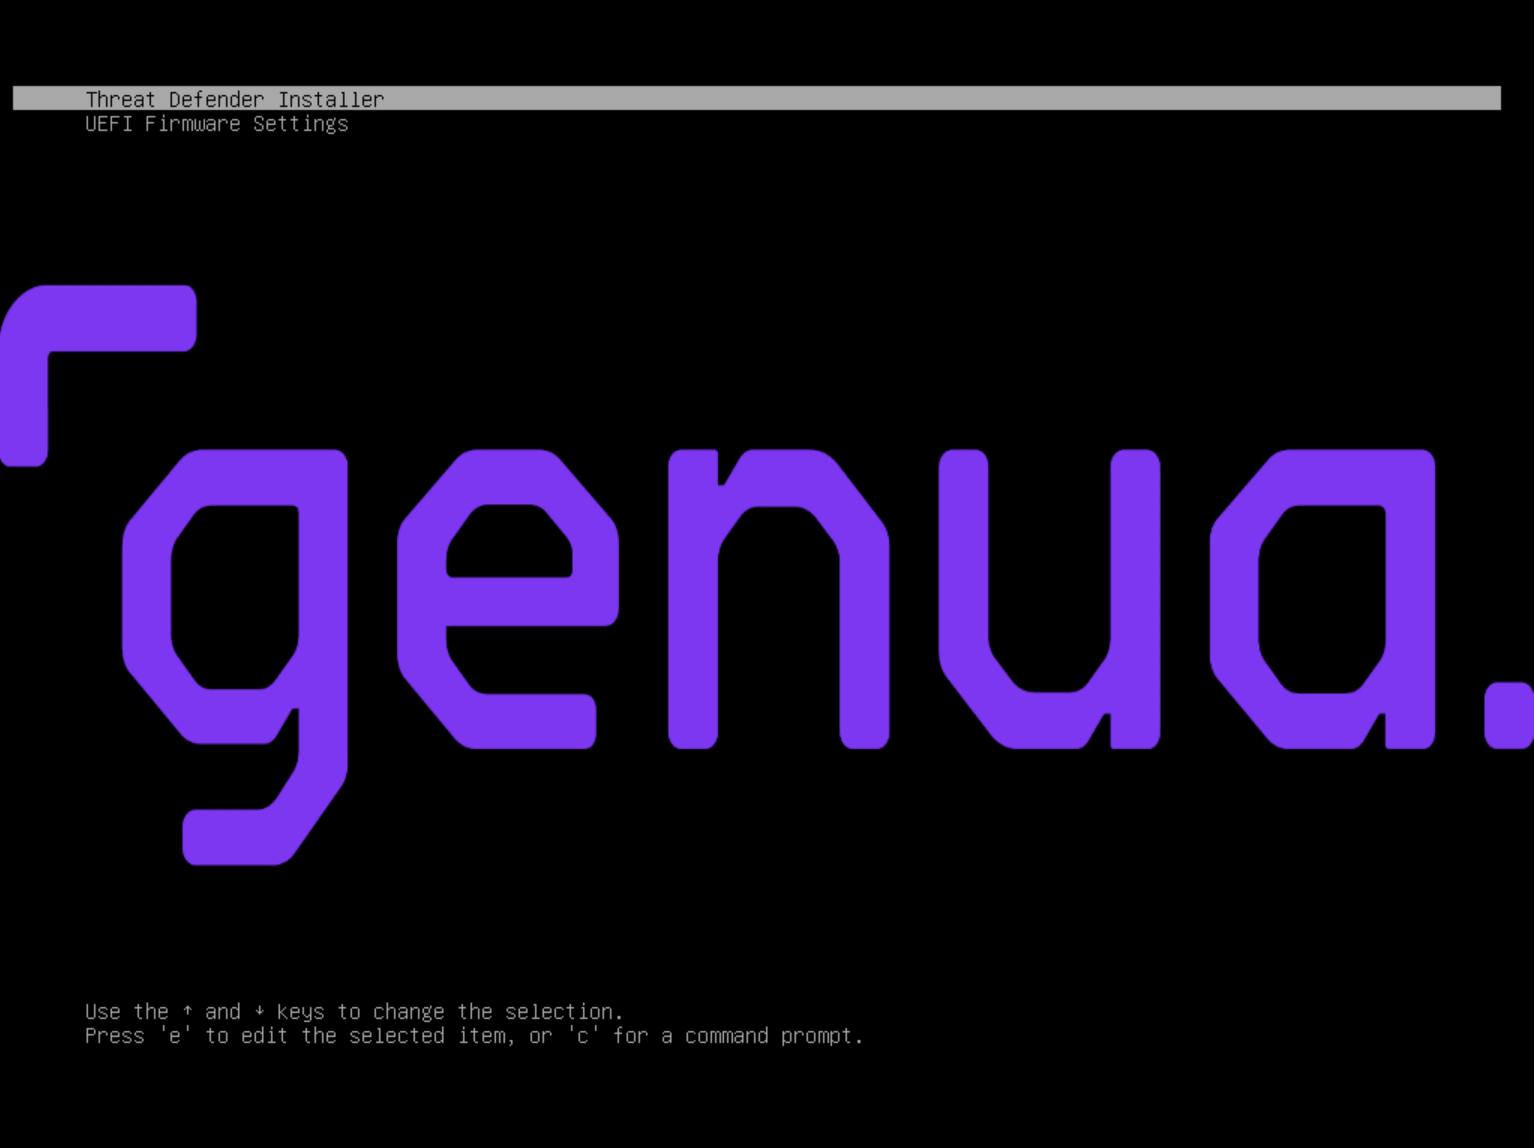
cognitix Threat Defender boot menu.
An installation wizard guides you through the installation process.
The installer displays an overview of your hardware information. Proceed with OK.
Select your keyboard layout.
Select Yes to confirm that the installer may delete your hard disk.
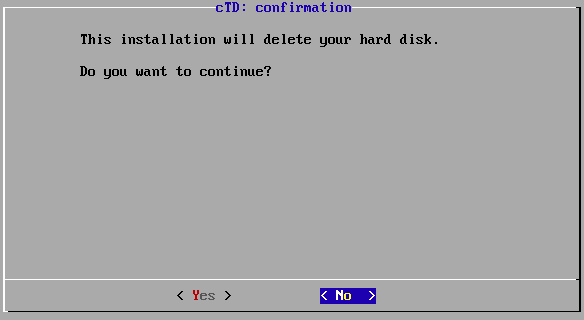
Deletion confirmation.
Confirm the installation target.
Enter the hostname of the device.
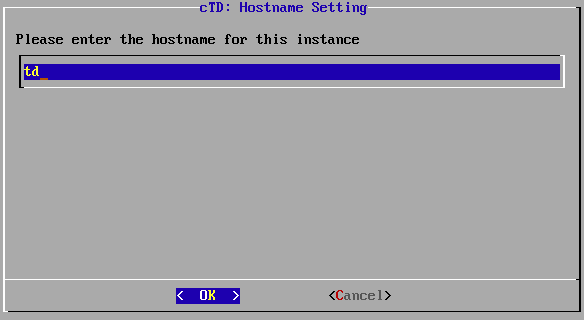
Input of the hostname.
Confirm your settings with OK.
Select the interface you want to use for out-of-band management (i.e. the management interface).
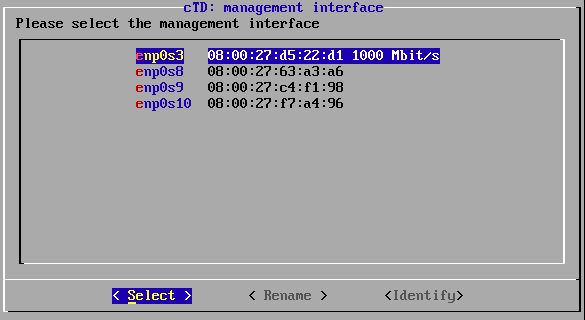
List of interfaces.
The installer automatically detects usable network interfaces. If an interface is connected to a remote station (e.g. a switch or server) the connection speed is indicated after the MAC address of that interface.
To be able to access the GUI, the management interface has to be in “link up” state. Nevertheless, it is possible to configure an unconnected interface and activate the connection later.
Optional:
To verify a selected interface, select Identify. This will cause the LEDs of the selected interface to flash.
Select Rename if you wish to assign more convenient names to the interfaces, e.g.
managementfor your management interface.
Enter the IP address of the management interface in CIDR format.
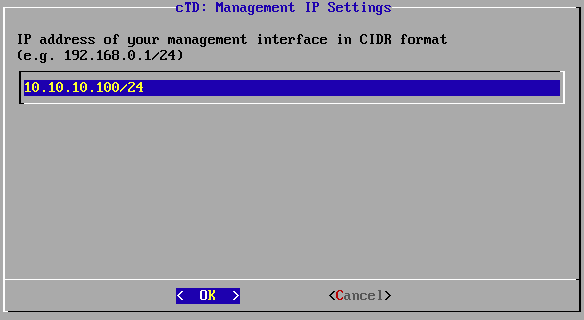
IP address of the management interface.
Confirm your settings with OK. This IP address will be used to access the Threat Defender user interface.
If you want to receive software and signature updates via the Internet, enter your gateway and DNS server.
Enter the IP address of your gateway, if applicable. Confirm your settings with OK.
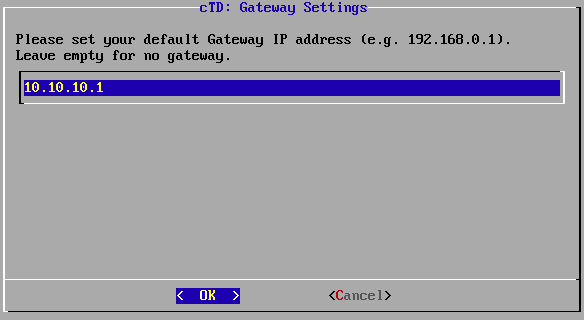
IP address of the gateway.
Enter the IP address of a reachable DNS server. Confirm your settings with OK.
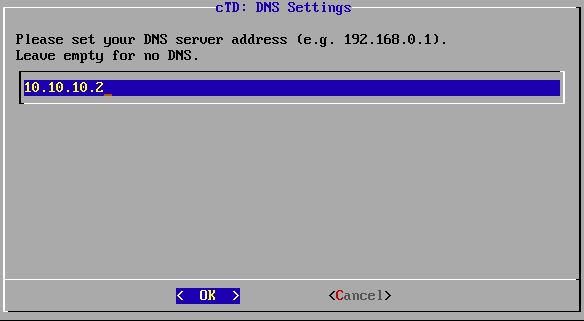
IP address of the DNS server.
Warning
To be able to get firmware and license updates, Threat Defender has to be able to reach our servers via the Internet. If you do not want to connect Threat Defender to the Internet, you need to update it manually (see Updates).
Select the time zone as required. Press OK to confirm the setting.
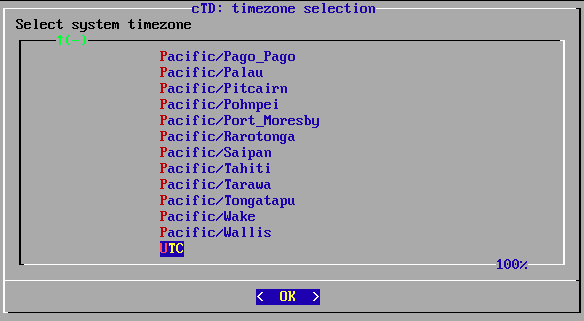
Time zone selection.
Tip
You can also change the time zone via the GUI when the installation is complete (see Changing the Hostname and Time Settings).
The installer prompts you to change the system date and time. If the settings are correct, select No and proceed with checking the usable network cards. Otherwise, select Yes to manually change the system date and time.
Select how Threat Defender proceeds after the installation is complete. The Fast Reboot option will be automatically selected after 10 seconds.
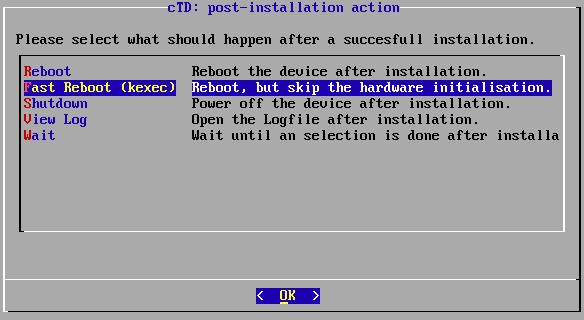
List of post-installation options.
The installer then displays a summary of the settings and prompts you to confirm that they are correct.

Configuration summary.
Confirm them with Yes to proceed with the installation.
The installer creates a new file system. This may take a few minutes.
When the installation is complete, you can once more select how you want to proceed.
Result
After rebooting the appliance, you see a summary of your settings.
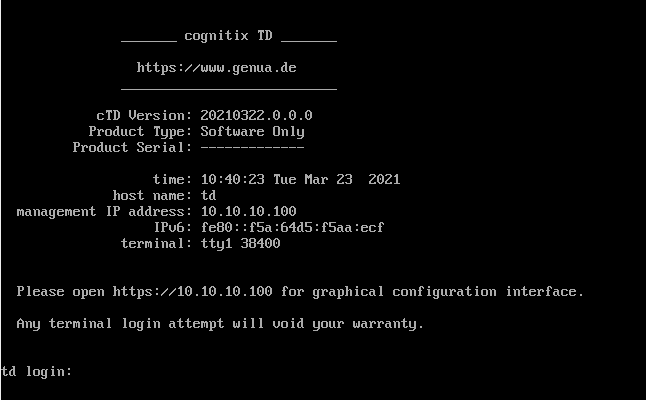
Complete Threat Defender installation.
The installation of Threat Defender is now complete.
To proceed with its configuration, open the IP address of the management interface in your browser. We recommend using Google Chrome.
Additional References:
For information on how to log in, see Signing In.
To read more about completing the setup of Threat Defender, see Completing the Setup.